THE HEIGHTMARK GUIDE
How to organize places you visit by elevation on iPhone
Heightmark is a private elevation journal for iPhone. Save individual places, sort them by elevation in your Atlas, and see your collection on a vertical scale beside world landmarks. You can record a viewpoint or a city visit without tracking the route between them.
Step by step
Record a place
Open Record at the place you want to remember. Allow location access and tap “Record this elevation”. Heightmark uses the reading and vertical-accuracy estimate supplied by iPhone Location Services.
Keep the memory
Add an optional photo and note, then save the mark. The record keeps the place, coordinates, elevation, and time. A city stop matters just as much as a summit.
Sort your Atlas
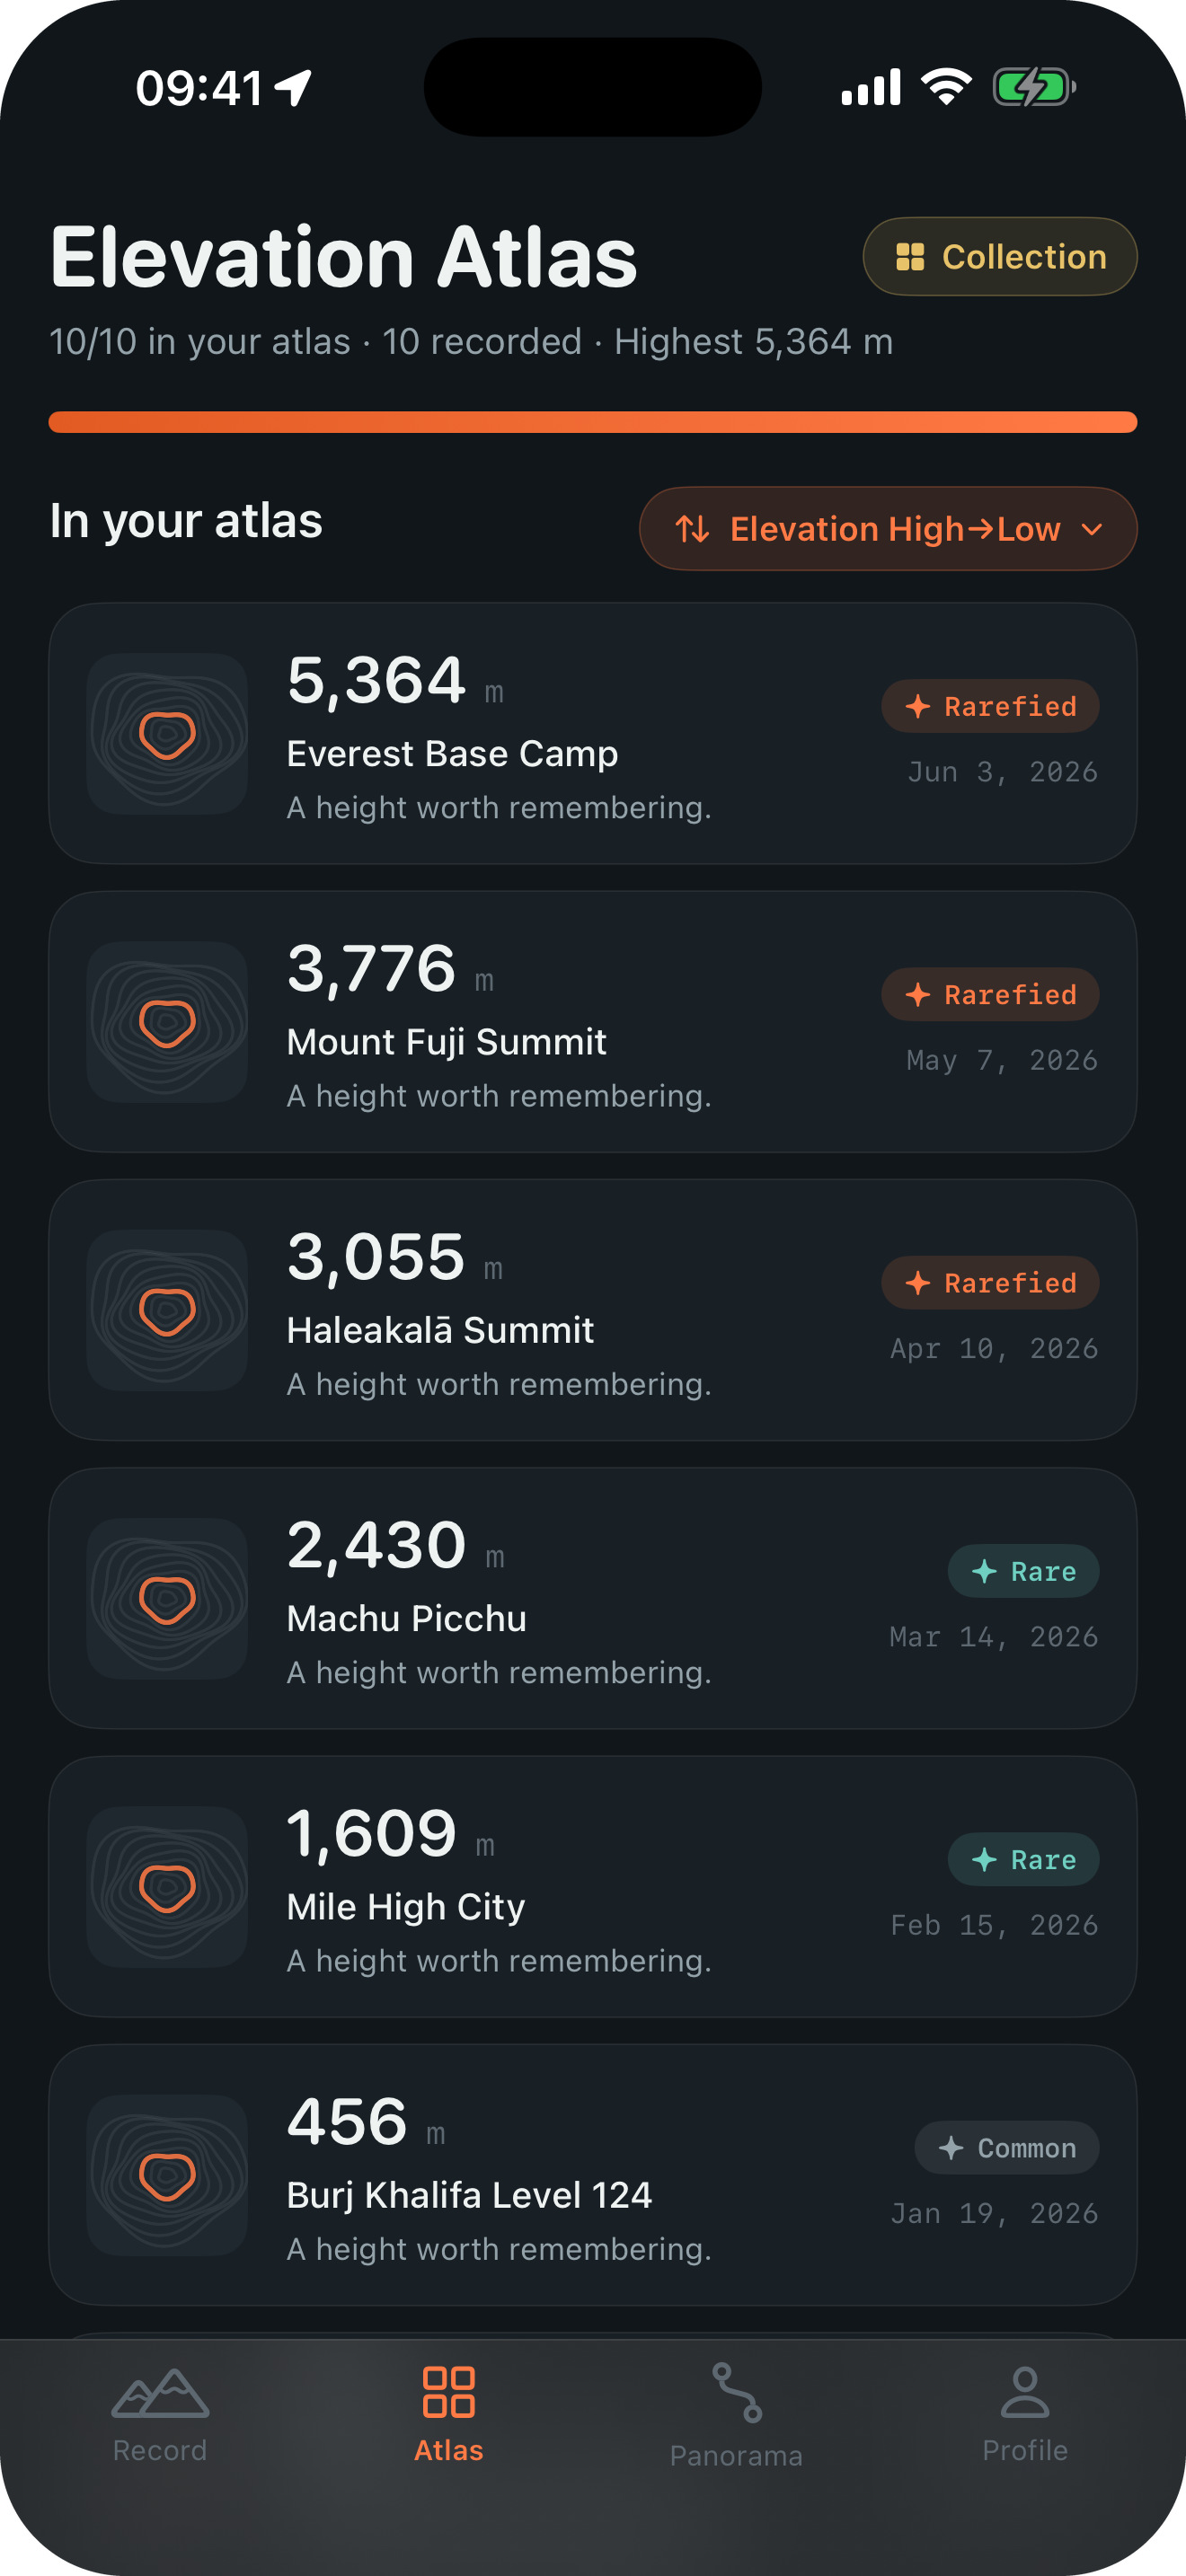
Open Atlas and choose the elevation sort order to revisit high and low places together. Choose date order when you want to follow the sequence of a trip.
Open Panorama
See your saved places and world landmarks on one vertical scale. Zoom or scroll to explore the range. Meters and feet are available in Settings.
Can I save places without tracking an entire hike?
Yes. Heightmark saves individual elevation marks. It does not continuously record a route, calculate accumulated elevation gain, or track workout statistics. Choose a route-recording app when you need a continuous trail or workout log. Read how one-tap marks compare with route tracking.
Start your elevation journal
Recording is free. Up to 10 marks can be in your Atlas; additional marks remain saved in Not in Atlas. Optional, one-time Heightmark Pro adds every mark to your Atlas and Panorama and unlocks premium sharing templates.
Download on the App Store